Framer is a popular tool for building interactive websites and prototypes. One key aspect of creating a unique design is choosing the right fonts. While Framer provides a variety of built-in fonts, sometimes you need something special to match your brand.
In this guide, we’ll walk you through the steps on how to import fonts into Framer, so you can give your designs a personal touch.
Why Use Custom Fonts in Framer?
Fonts play a big role in web design. They can set the tone for your website, make your content more readable, and help create a distinct brand identity.
While Framer’s default fonts are useful, learning how to import fonts into Framer allows you to make a difference and offer more control over how your site looks. For instance, a playful, creative site might use a handwritten font, while a tech-focused site might need something more modern and clean.
Using custom fonts gives your site a unique personality and ensures your text aligns with your design style.
Basic Steps to Add Fonts in Framer
Choosing the Right Font
Before importing a font into Framer, you need to pick one. You can find fonts on websites like Google Fonts, Adobe Fonts.
Downloading the Font
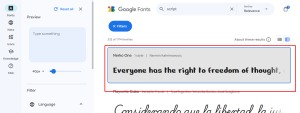
Go to https://fonts.google.com/
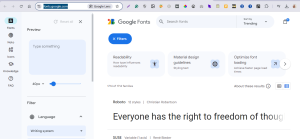
Search your font in the search bar.
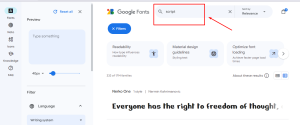
Click the font you like
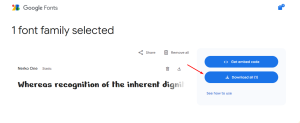
Click “Get Font”

Click “Download”
Importing Font into Framer
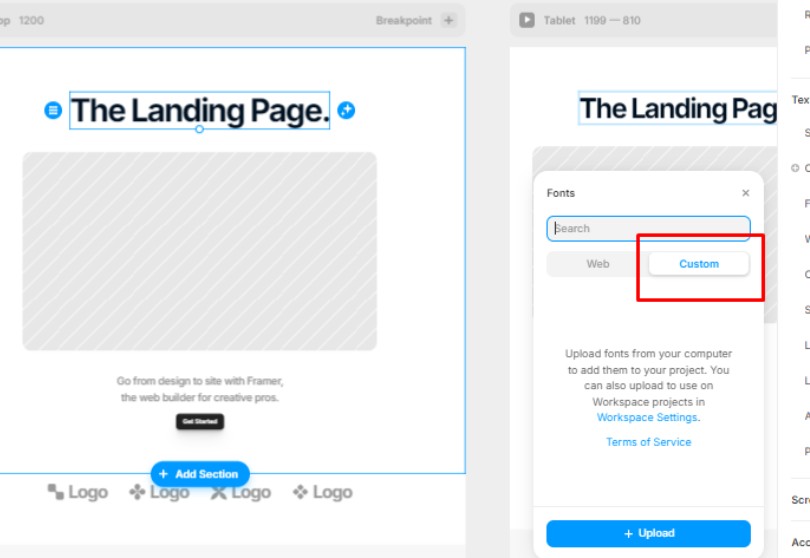
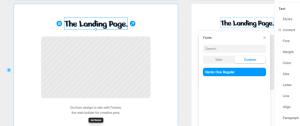
Once you’ve downloaded the font, open your Framer project and click on the text where you want to change the font
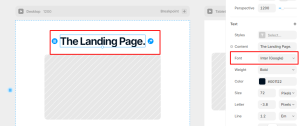
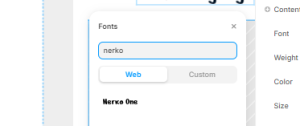
Go to the fonts and then click “Custom”
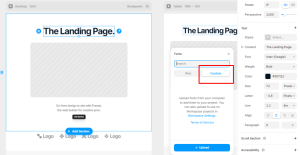
Unzip the google font file and upload .ttf file from the folder

And here you can see the font is applied. Once the font is imported, you can apply it to text elements on your website. Select a text box, go to the properties panel, and choose your new font from the drop-down list.
Make sure to preview your website to ensure the font appears correctly.
//OPTIONAL VIDEO
2 Common Mistakes When Importing Fonts into Framer
Wrong File Format: Fonts need to be in the right format (.woff, .ttf, or .otf) to work on all browsers. Some older formats may not display correctly.
Browser Compatibility: Some browsers may not support specific font types. Make sure your font is cross-browser compatible to avoid issues for different users.
Best Practices for Using Fonts in Framer
Loading Speed Considerations
Large or complex fonts can slow down your website. To keep loading times fast, only import the font weights and styles you actually need. Minimize font file sizes by using modern formats like .ttf.
Font Pairing and Readability
Pairing fonts is an art. When choosing two fonts, make sure they complement each other. For example, pairing a serif font (like Times New Roman) with a sans-serif font (like Arial) often works well. Also, make sure the fonts you choose are easy to read, especially for body text.
Responsive Design
Make sure your fonts look good on both desktop and mobile devices. Text should scale appropriately, so it’s readable on smaller screens. Framer lets you adjust font sizes for different breakpoints, ensuring your design is responsive.
Customizing Fonts with CSS in Framer
Framer allows you to further tweak fonts using CSS. For example, you can change font size, weight, and spacing. Here’s a simple example of how you can customize your font with CSS:
.custom-font {
font-family: “YourCustomFont”, sans-serif;
font-size: 16px;
font-weight: 700;
letter-spacing: 0.05em;
}
Using CSS, you can also adjust things like line height, which controls the spacing between lines of text, ensuring your text looks polished and professional.
Conclusion
Learning how to import fonts into Framer can significantly improve the look of your website. By following these steps, you can import any font you like, whether it’s from an online font library or your own computer. Custom fonts help your website stand out, reflect your brand, and create a better user experience.
Remember to optimize your fonts for speed and usability, and always test how they look on different devices. With the right font, your website can feel more professional, readable, and engaging!